composting with worms
 Spring has sprung and I’m starting to think about gardening, birth, renewal. Tomorrow the world will celebrate Mother Earth in a collective vote of consciousness, with “Earth Hour”. Everyday I make an active choice to be conscious of my actions towards the Earth that nurtures and supports me. My husband and I actively compost, just as one example of the giving back to the earth. We’ve been long interested in the thoughts of worm composting. Luckily, we currently have a community garden to drop off our weekly 5 gallon pail full of organic matter. But what about when we are living and travelling in the RV? I wonder how many RVers have successfully maintained an environmentally friendly lifestyle, one which includes composting? We’ve even gone as far as thinking of adding a composting toilet, but are uncertain as to whether the inclusion of such an item will outstretch our weight limitations on our Dodge 3/4 ton truck used to pull the Airstream (normally this wouldn’t be a concern, but the luxury of having granite countertops adds to the equation of poundage).
So in the spirit of green education, in honour of our earth Mother, below are listed some tips from the US Natural Resources Conservation Service to spark the movement towards an eco-friendly world and consciousness.
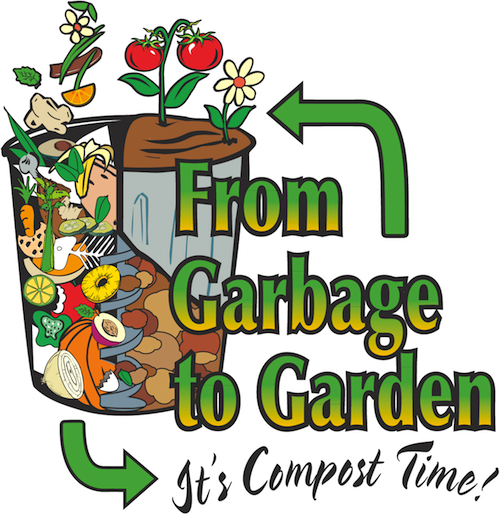
Composting turns household wastes into valuable fertilizer and soil organic matter.Vermicomposting uses worms to compost. This takes up very little space and can be done year-round in a basement or garage (or RV?!). It is an excellent way to dispose of kitchen wastes.
Steps:
1. You need a plastic storage bin. One (1′ x 2′ x 3.5′) may be enough to meet the needs of a family of 6.
2. Drill 8 to 10 holes, approximately 1/4″ in diameter, in the bottom of the bin for drainage.
3. Line the bottom of the bin with fine nylon mesh to keep the worms from escaping.
4. Put a tray underneath to catch the drainage.
5. Shredded newspaper works well as bedding. Rip into pieces and water well so that it is thoroughly moist. Place on one side of your bin. Do not let it dry out.
6. Add worms to your bin. Redworms are recommended for best composting, but other species can be used. Redworms are the common small worms found in most gardens and lawns. You can collect them from under a pile of mulch or order them from a garden catalog.
7. Provide worms with food wastes such as vegetable peelings. Do not add fat or meat products. Limit feed–too much at once may cause the material to rot.
8. Keep the bin in a dark location away from extreme temperatures.
9. In about 3 months the worms should have changed the bedding and food wastes into compost. At this time add fresh bedding and more food to the other side of the bin. The worms should migrate to the new food supply.
10. After a couple of weeks, open your bin in a bright light. The worms will burrow into the bedding. Scoop out the finished compost and apply to your plants or save for use in the spring.
 Using compost — Check the pH level and adjust with lime or sulfur depending on the types of soil and plants in your yard. Also lime can prevent blossom end rot in tomatoes.
Compost can be used for all your planting needs. Compost is an excellent source of organic matter to add to your garden. It helps improve soil structure which contributes to good aeration and moisture-holding capacity. Compost is also a source of plant nutrients.
Compost can also be used as a mulch material. Studies have shown that compost used as a mulch, or mixed with the top one-inch layer of soil, can help prevent some plant diseases, including some of those that cause damping of seedlings.
