Fantastic Fans

 We spent a good portion of the morning trying to figure out whether our Carlisle tires were covered under the 2 year warranty, and then sourced out a dealer that could adjust our current tires under said warranty with new tires (still undetermined until our chosen dealership, North Gateway Tire, looks at the tires). I was relieved that this task was relatively painless and easy, considering the possibilities of what could have happened. With favourable weather on our side, slaDE began the laborious task of retrofitting a Fantastic Fan in the rear portion of the trailer. Two Fantastic Fans, one in the front and the rear, will allow for the venting and circulation of any stale or hot air (necessary when we don’t have access to our air conditioner — i.e. little or no power). With the Fantastic Fan, when a vent opens up more than an inch, the fan kicks on by itself and offers two ways of ventilation (in/out), controlled either by the thermostatic control or a rocker switch. I’m still in debate over whether we should have bought the fans with the rain sensor feature (this automatically closes the vent at the first signs of moisture for an extra $100 per fan). We purchased 2 of these fans at Camping World over 5 months ago and we were waiting for an opportune time to install them. Visiting the Woodruff’s seemed like as good an opportunity as ever (especially after the incredibly hot week we just had at Alumapalooza)!
While I ran some errands with Lou and Lauren, the men worked on the fans (with slaDE hunkering down and putting in major efforts to ‘McGyver’ where he needed). slaDE worked late into the evening and although he came close to finishing the install, the forecast of sketchy weather for the week ahead had me questioning whether both fans would actually be completed on this trip. The Classic Rides youTube video that I had found online in searching for installation tips made the addition of a ventilation system look quite easy on their 1970 Airstream Overlander Land Yacht Restoration. Two hours in total for an install was their estimation. Funny how Professionals in their field make everything look seamlessly easy and fast (I understand this totally, having been a Professional Parachute Packer for many years :)). But I was proud of my hubby for taking on the task and skillfully placing the new ventilation system with great success.
Here’s a synopsis as described by the website usedairstream.com featuring the above youTube video positioning a Fantastic Fan:
 To replace the ventilation in the living area, Kevin removes the screws, taking out the old ventilator from the bottom side first. He removes the wire nuts and disconnects the wires. Next he puts the wire nuts back into the source wire.
- He moves on to the top of the trailer to remove the ventilator, using a scissor lift to get up. He points out the rivets which show where the braces are. According to Kevin, you have to be careful when getting on top of the trailer, making sure that you do not put too much weight on the areas not covered by the braces as these are very weak.
- He starts by drilling out the rivets that hold the cover to the vent bracket. Now he can remove the cover. Then he uses a hammer to center punch and strike each rivet head. Then he goes back to drill each rivet out. He loosens the vent gasket seal using a putty knife.
- The new vent is slightly larger than the original, so he uses the gasket as a template. He traces the corners that he needs to cut out. He says it is surprisingly easy to cut out the aluminum with metal shears.
- He cleans the gasket surface area. Using Vulken 636 Polyeurethane as a sealant, he fills the rivet holes and lines the area to seal it. Vulken 636 Polyeurethane sealant is highly recommended by Airstream according to Kevin.
- He sets the center gasket into place and runs another nice, even bead of Vulken around the perimeter. He sets the vent in place. And voila! It sits right at home. Using a drill, he drills through the roof panel. He squeezes the panel with a gun. Going back inside the trailer to work on the bottom flange now, he strips the wires as necessary. He attaches the wires and secures the connections using electrical tape.
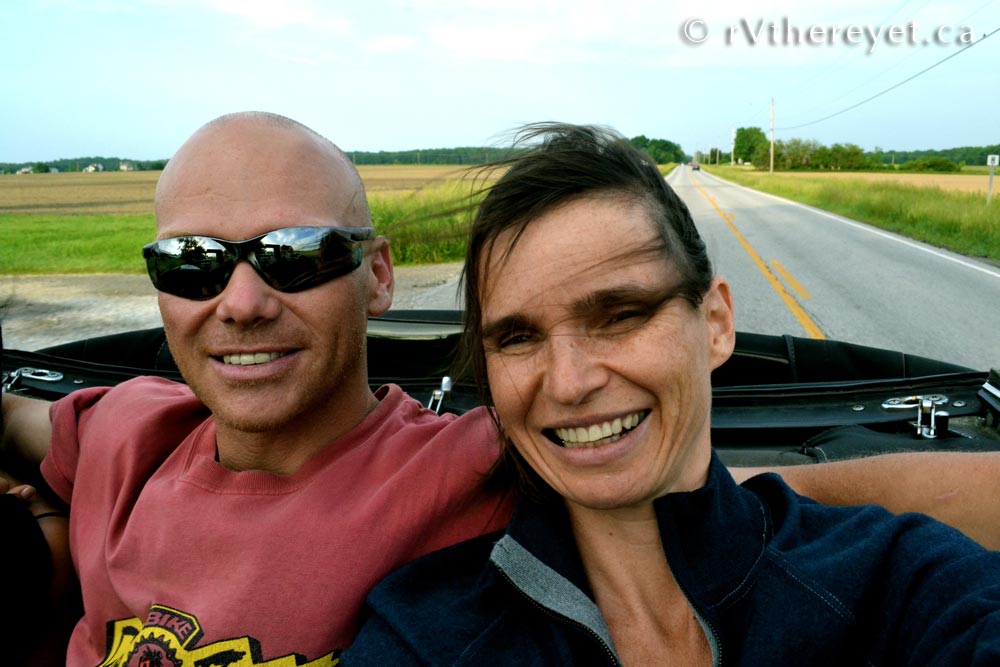
After dinner, slaDE and I were whisked away for a glamourous ride in Al’s antique  1948 Chev mint green convertible. This vintage was before the days of seatbelts, and riding with the wind blowing through our hair with no belt restraints felt completely foreign but unencumbered. Us ladies in the house ended the evening dancing up a storm with a Wii-Fit session of Just Dance 2 and Zumba. What a blast!


